

There's exactly one week till CHRISTMAS! And you know what that means. It's a time for giving and loving, making and sharing memories. It's also my favorite holiday because of these facts, in addition to it's true meaning CHRISTmas ....translating mas from Spanish to English means 'more'! More Christ!! That's how I look at it. hehe
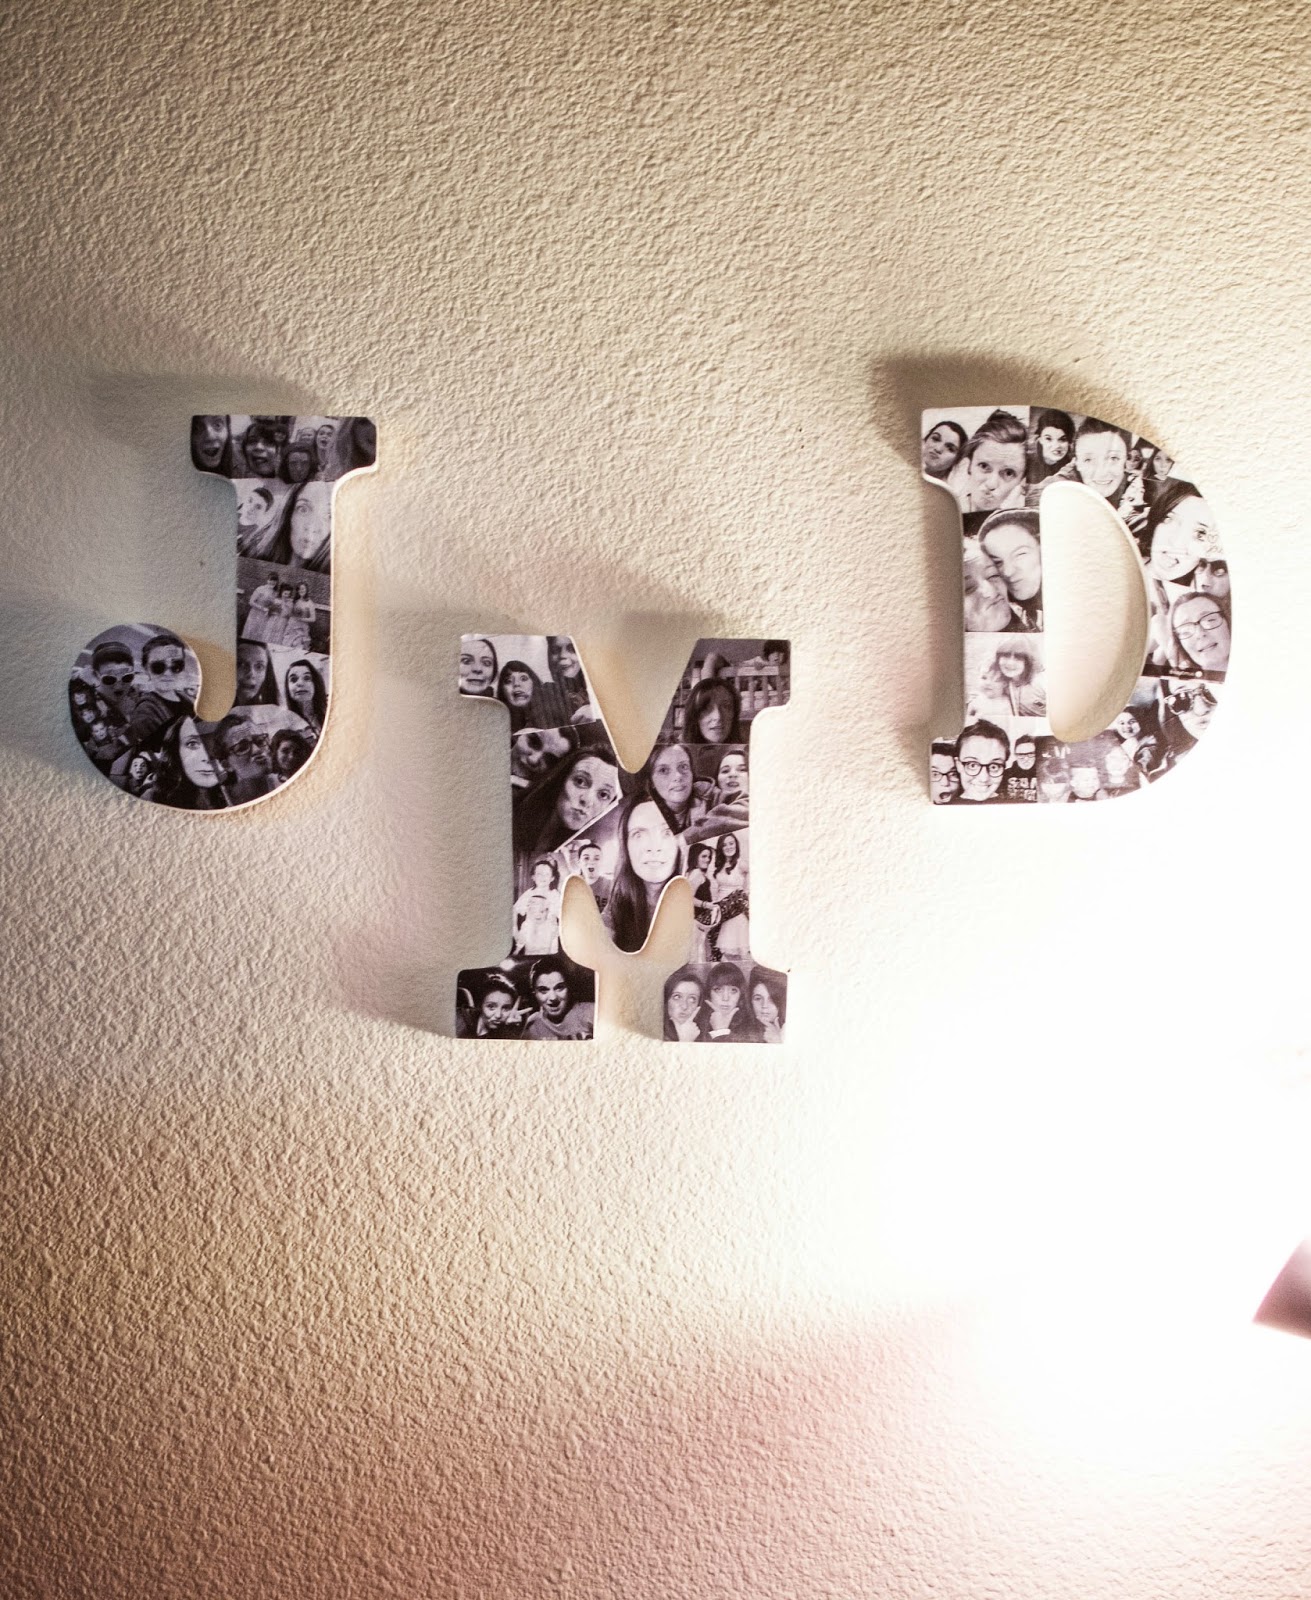
So anyways, I've come up with my own DIY for these letter collages that seem pretty popular nowadays. I've done this craft before, but I made it hard for myself. Which is why I'm trying it again! And this time it was MUCH easier! So I really hope you enjoy this DIY. I'm making these letters specifically for my younger sister as a gift for Christmas, so I hope this inspires you to create a heartfelt and meaningful gift that will mean a lot to your recipient.
So let's get started!!
Here are the ingredients you'll need for this fun little time consuming project:

- Crafting letters of your choice
- mod podge
- a pencil
- tape runner(or glue)
- paint brush/mod podge brush
- printer paper
- printed pictures(B&W or color)
- scissors
First things first! You'll want to set your letter face down on a blank piece of paper and trace around it. Making sure to keep the line as close to the edge as possible, and the letter as still as you can.
You'll also want to cut out your letter(s) when you finish.
You'll also want to cut out your letter(s) when you finish.


After this you will want to cut out your pictures, keeping in mind that you might eventually have to cut these pictures down smaller to fit in the collage.

Next, you can use your tape runner or glue to start pasting your pictures. I recommend using the tape runner, making sure to cover each picture fully with tape so that the whole picture sticks, and sticks flat onto the letter's surface. Using the tape runner also makes sure that you get more of a flat, clean look rather than the lumpy effect you can get from a wet glue.

Continue doing this until your letter cutout is showing almost no white spaces.

Next you will want to turn your letter over, exposing the original cut out of the letter.

Start cutting along the edge of the letter. What I did to make sure that the letter cutout fit on the letter block is cut the paper along the inside edge getting rid of a small amount of the letter. This makes the cutout just a tad bit smaller, so that it's not sticking over the edge of the block. That's probably really confusing....but I hope it's not.

Once you get the excess cut off, you'll want to check and make sure your cutout fits on the front of the letter. If it sticks over the edge a bit, just cut off a sliver around the whole thing....

Here's where you'll need your tape runner/glue again....*tape runner highly recommended* You'll run tape over the front face of your letter....ALL OVER! Don't neglect one single spot of being covered in tape!
Then....tape the paper letter onto the monogram letter, being careful to place it on there with much precision.

Now you'll take your mod podge.......here's a pretty picture(: Haha!

And you'll simply use your paint brush/mod podge brush to paint a thin coating on your letter, making sure to cover the edges to secure the paper on the letter. You can put as many coats of mod podge on as you like, but I just stuck with doing one.

Finally, you can let your letters dry....it doesn't take too long;)

Now you're finished and ready to wrap up your gift!! Unless of course you made this for yourself, then you could very well wrap it up and tear it open on Christmas day as a nice little gift to yourself.
Thank you so much for reading and crafting with me! I hope you enjoy this DIY and use it to create your own Monogram collages. Please leave a comment on another DIY project you might want me to tackle for you, or if you try this and want to share your results, I would love the feedback on how it worked for you. Don't forget to check out my other crafts on my 'DIY/crafts' page. Thanks again, and have a very Merry Christmas!(:


No comments:
Post a Comment